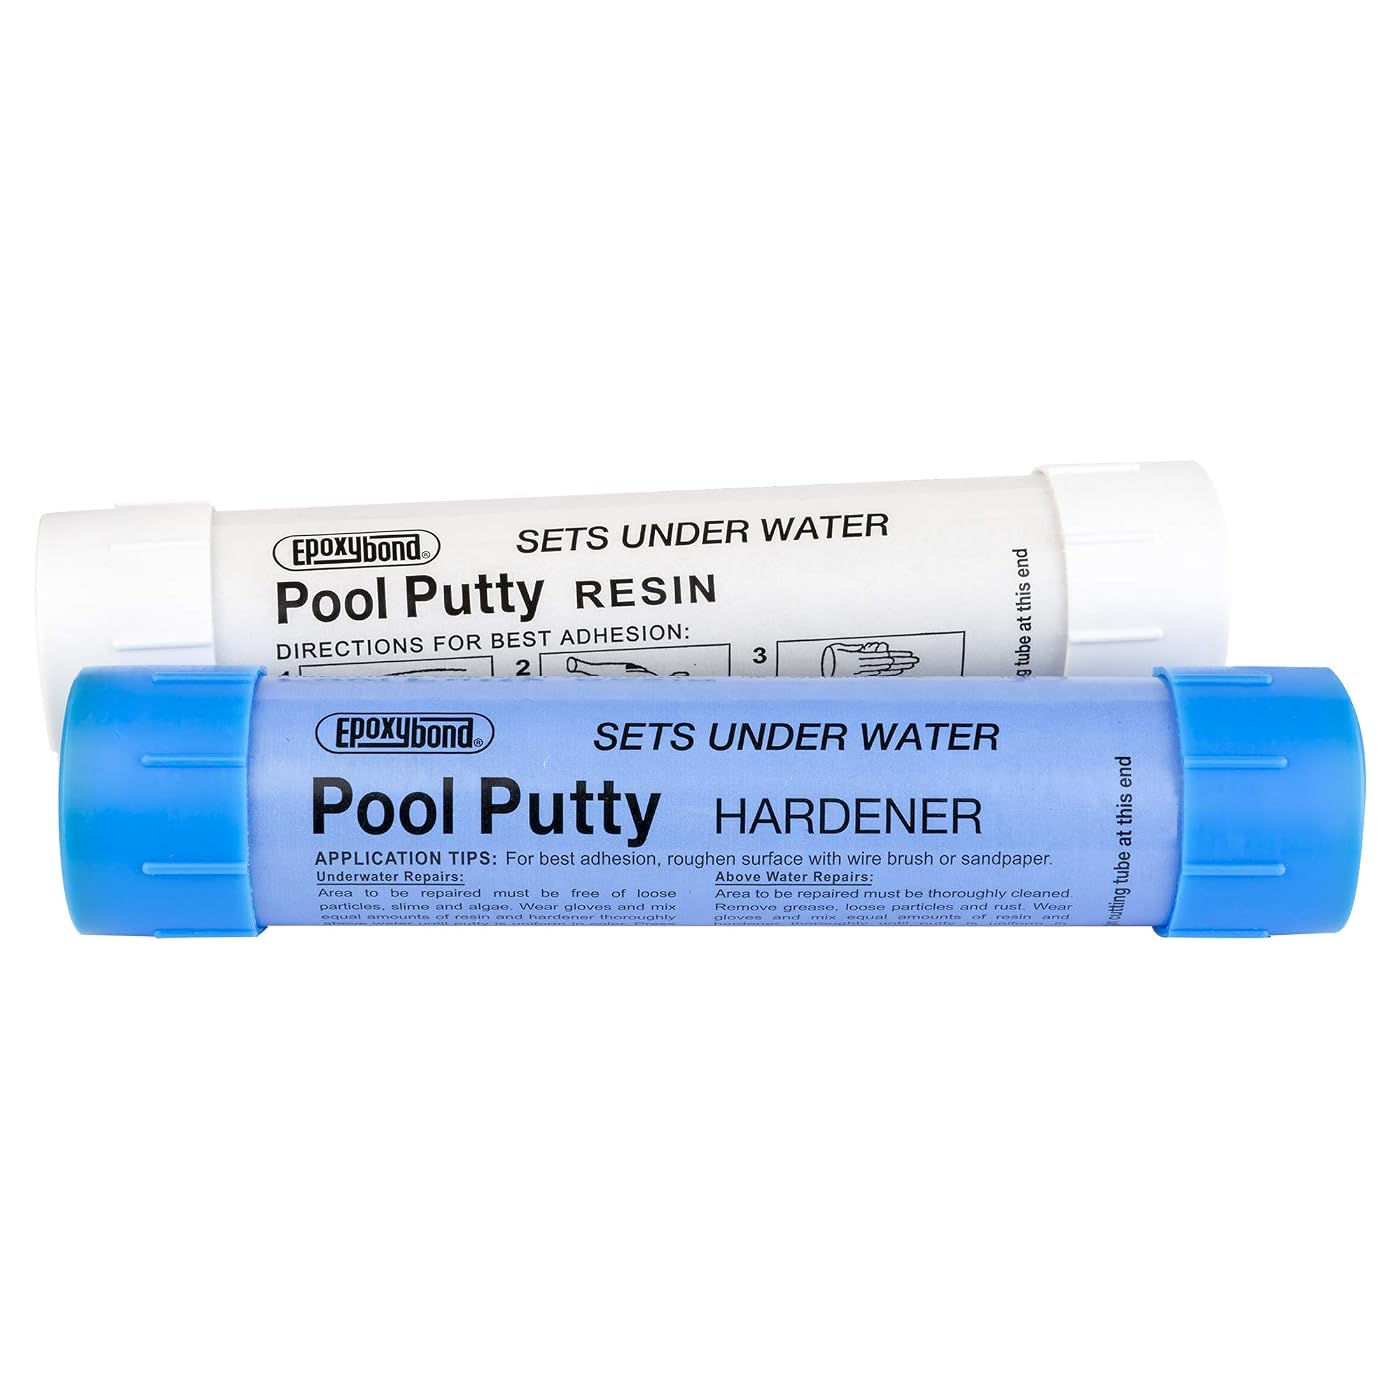
Once our putty hardens, it behaves much like dense stone. It reaches a compressive strength of 8000 psi and can be shaped, filed, sanded, or tiled over. You do not need special tools to finish the surface, but you do need to wait for the cure to complete before taking an abrasive to it.
The cured patch will not match an aged pool surface on its own. Fresh white putty against ten-year-old marcite stands out clearly underwater. Getting a clean finish is a matter of mechanical preparation, surface profiling, and knowing when to paint, when to grind, and when to reset a ceramic tile.
Waiting for the proper cure
Do not sand green putty. The single-stick format sets in 20 to 30 minutes and reaches full cure in 1 to 2 hours. If you are working with the 14 oz two-part set, water temperature dictates the schedule entirely. In 60 F water, that set requires 3 hours 30 minutes just to set, while 70 F water brings that time down to 2 hours. In warm water at 90 F, it sets in 55 to 60 minutes.
If you abrade the material before the reaction finishes, the resin will tear away from the aggregate instead of cutting clean. Give the patch its full cure time. Once fully hardened, the shrinkage is only about 1 percent, leaving a stable base that will not pull away from the surrounding concrete or tile.
Shaping and sanding cured putty
You can shape the cured repair with standard silicon carbide wet-or-dry sandpaper, a hand file, or a grinding stone. Feathering the perimeter flush with the surrounding pool shell prevents edges from catching automatic pool cleaners.
Never attempt structural repairs with this material. The data sheet states clearly that it is not intended for structural applications. Do not use it across expansion joints or moving shell cracks.
Start with a coarse 60-grit or 80-grit abrasive if you need to take down a high spot left during placement. Move to 120-grit for blending the repair into the adjacent gunite or plaster. If you are preparing a repair on fiberglass gelcoat, scuff the surrounding area dull to remove any surface glaze before feathering.
Matching aged plaster and pebble textures
A cured white patch will look brighter than old marcite, which accumulates mineral scale and organic staining over years of pool service. You can disguise the repair by dressing the surface while the putty is still pliable, or by mechanical profiling once it has reached full cure.
While the material is still workable during its 5 to 15 minute working life, press loose aggregate or washed plaster sand directly into the face of the patch. For cured marcite repairs, rub the hardened surface with a medium-grit rubbing brick underwater. That breaks the resin sheen on the surface, giving the repair a matte, mineral texture that catches light similarly to seasoned pool plaster.
Preparing the repair face for paint
Epoxy pool paints and chlorinated rubber coatings will bond over our putty if the surface is cleaned and abraded mechanically. The repair must be completely dry before applying solvent-borne or two-part pool paints.
- Abrade the cured epoxy patch with 80-grit sandpaper to give the coating a mechanical tooth.
- Rinse away sanding dust and let the basin dry out entirely before opening any paint cans.
- Check that no grease, algae, or chemical films sit on the patch before rolling your coating.
Do not use acid washes on the fresh epoxy repair. While the material is resistant to pool chemicals once cured, strong muriatic acid solutions used to prep old concrete will not etch epoxy. Sanding is the only reliable way to key the surface for paint.
Bedding waterline and field tile
Our putty bonds directly to ceramic tile, concrete, and sound gunite with a bond strength of 400 psi to concrete. When resetting loose tiles underwater or in dry conditions, apply a layer at least 1/8 inch thick across the back of the tile.
Press the tile firmly into the bed so the putty squeezes out into the joint lines. Scrape away the excess from the face before it sets. The tensile strength reaches 1600 psi, holding the tile securely without the need for additional thinset mortar or separate grouting compounds.
Ensure the patch is mixed thoroughly above water for four to five minutes until all streaks vanish before putting it on the substrate. A complete mix gives you the full 8000 psi compressive strength and guarantees the material cures uniformly across the entire repair.